Sony Vaio VPCCA2S0E keyboard and fan disassembly
I have a Sony Vaio VPCCA2S0E that, due to an ageing battery, has been retired from laptop duty and is being used as a desktop. With RAM, SSD and Windows 10 upgrades it’s still going strong.
These are my personal notes on how to disassemble it to clean the fan if it seems not to be cooling the laptop as well as it used to. Since the fan is below the keyboard, these instructions may also be of use to anyone trying to replace the keyboard.
First some disclaimers. These instructions are for my benefit. They are provided on an as is basis without warranty or guarantee. If you break your keyboard trying to extract it then that’s your problem not mine. If you are not completely comfortable with the steps described then take your laptop to a professional for servicing.
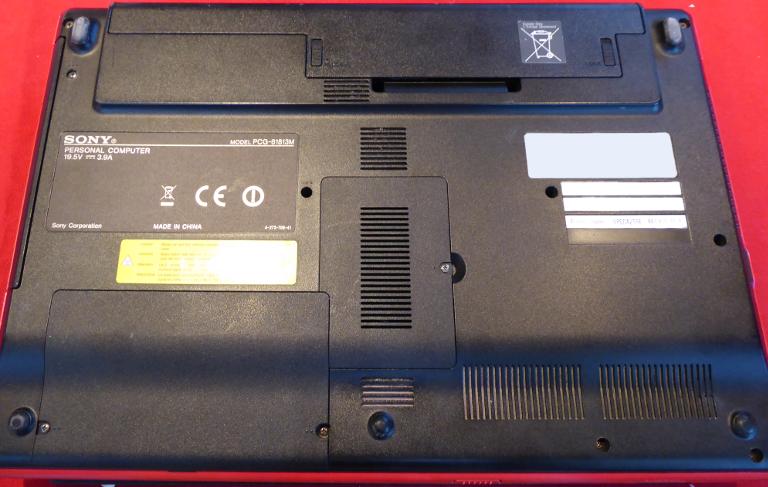
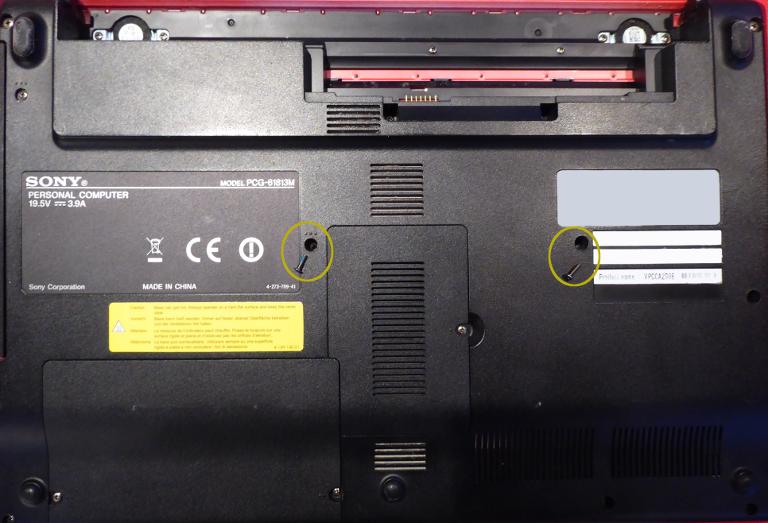
Start by shutting the machine down, disconnecting the power and peripherals and turning it upside down:
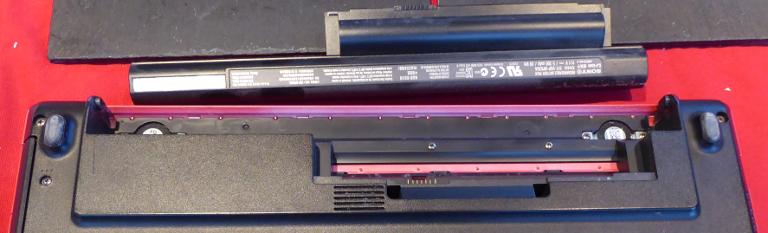
The first thing to do is to remove the battery. Find the lock slider as highlighted here:
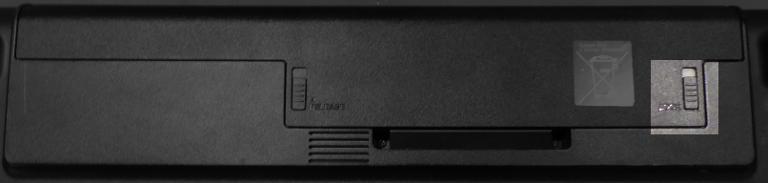
Slide the lock slider up, it will stay in place. Then find the release slider as highlighted here:
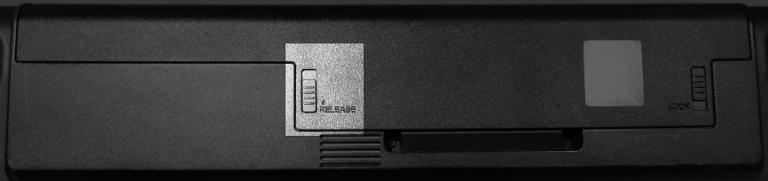
This slider is spring-loaded so slide it up and then rotate the battery pack up and round:
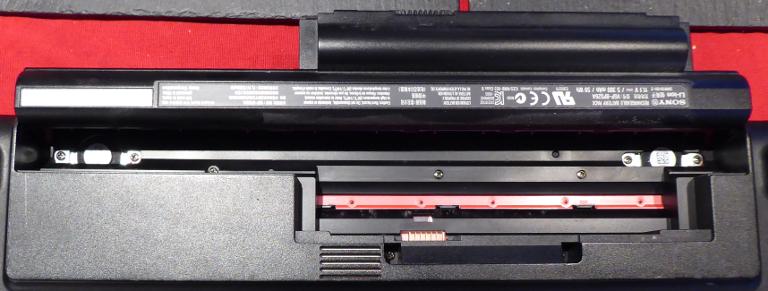
And then remove it completely.
Although these battery instructions seem obvious, when replacing the battery later remember that the pack has to be inserted in the rotated position.
Next, remove just the two screws highlighted here:
Now, turn the laptop back over and lift up the screen to expose the keyboard (as you would do to use the laptop normally). As well as the screws that were just removed, the laptop is held in place by clips. Releasing these is tricky. Be gentle. As noted earlier, if you break your keyboard doing this then that’s your problem not mine. Use a thin flat tool to lever the clips off their pegs. A plastic tool is less likely to damage the surround than a metal tool. The picture further down of the keyboard lifted may help you work out the action you need to use to remove the clips from their pegs.
I’m really not overstating the possibility of damaging your keyboard. I appear to have broken at least one clip. That’s not enough to make the keyboard insecure but, in any event, I’m now permanently using the laptop with an external keyboard so a slightly wobbly fitted keyboard wouldn’t bother me.
This is your last chance to back out before the serious risk of damaging your keyboard.
Assuming you’ve read all those disclaimers and are willing to continue at your own risk, start at the top, then do the sides before finally doing the bottom.
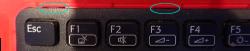
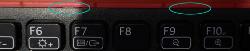
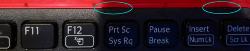
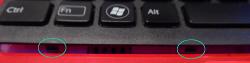
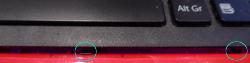
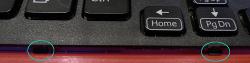
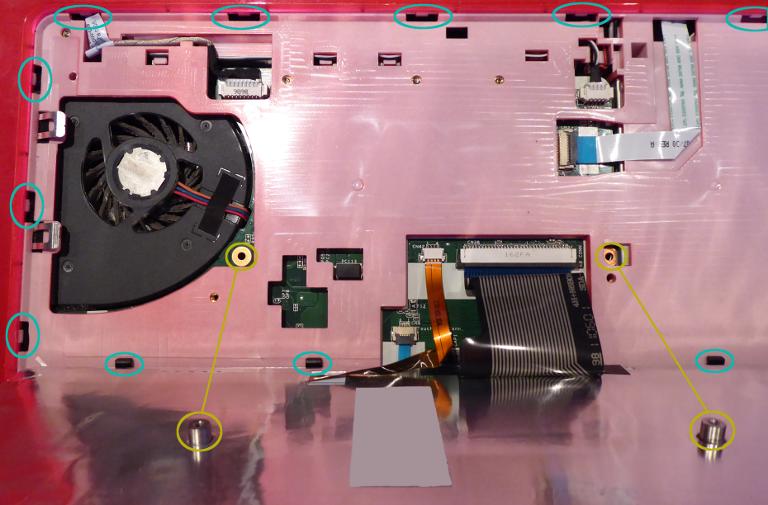
Here are the positions of at least some of the clips (with the keys from a UK keyboard layout visible):
| 
| 
|

| 
| |
| 
| 
|
With this done, the keyboard can be lifted up. If the keyboard does not lift up easily then you may have missed a clip or forgotten to remove the screws. It’s even possible that I may have missed a clip from the pictures. The keyboard should lift easily without requiring forcing. Do not apply non-trivial force here, you will break something.
With the keyboard lifted there is a view of the screws and some of the pegs that held the clips from the earlier steps. This may help you work out the action you need to use to lift the clips off their pegs.
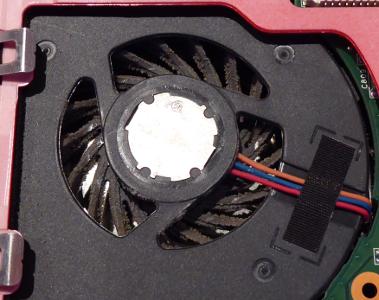
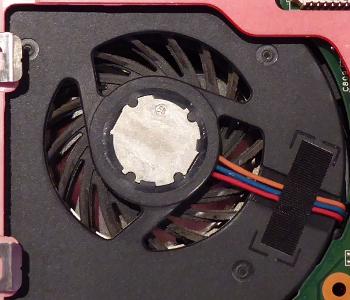
The fan can then be easily cleaned with compressed air.
| Before (dirty) | After (clean) |
|---|---|
| 
|
I’ve not tried replacing the keyboard so I can’t give any further instructions on that.
Once done, refit everything by following the instructions in reverse. Fit the keyboard: the clips should go in easily if just pushed down into place. Close the laptop and turn it over. Refit the two screws. Then replace the battery pack by inserting it in its rotated position, rotating it into place, pushing down so it latches and then sliding the lock slider down to secure it.
Pictures and text copyright © 2018 Steven Singer. All rights reserved. However, if you run a laptop repair service or supply replacement parts for laptops and if you make service or repair instructions available to the general public for free then I grant you a non-exclusive licence to use the pictures in this article to illustrate your own instructions provided you host them to your own server (that is, do not link to the pictures on this server). You do not have permission to use the text. You do not get copyright on the pictures (that means you must not watermark the pictures with your own copyright). If this is unclear then email me at the address below.
Comments should be addressed to webmaster@pertinentdetail.org